April Wilkerson’s Guide to Creating the Ultimate Outdoor Oasis Using Real Cedar
Learn how to transform your outdoor space into the ultimate oasis with the help of home improvement guru, April Wilkerson. In this installment of her how-to YouTube series, she walks us through the installation of an above-ground pool, perfectly framed by her beautifully constructed Real Cedar deck – complete with removable railings.
Why did she choose Real Cedar for her dream deck? As the Texan woodworker so enthusiastically puts it, “Man, do I love the way that Western Red Cedar looks. On top of looking stunning, it also has all of those wonderful natural qualities such as being naturally rot-resistant, insect-resistant, and fungus-resistant. It truly has become my go-to material choice for outdoor projects.”
Furthermore, Real Cedar is a green building material. This renewable resource not only captures and stores carbon from the environment but also is harvested from third-party certified, sustainably managed forests. So, it’s a choice that April feels good about.
Designing with Creative Flair
Starting off, April highlights the importance of careful planning and taking precise measurements of the pool. A unique twist in this project is the use of a stock tank instead of a traditional pool. Note, it’s crucial to measure multiple dimensions of your pool as they may slightly vary and aren’t perfectly round. Based on the average of those measurements, she traced an outline of the pool before cutting the actual hole in the deck.
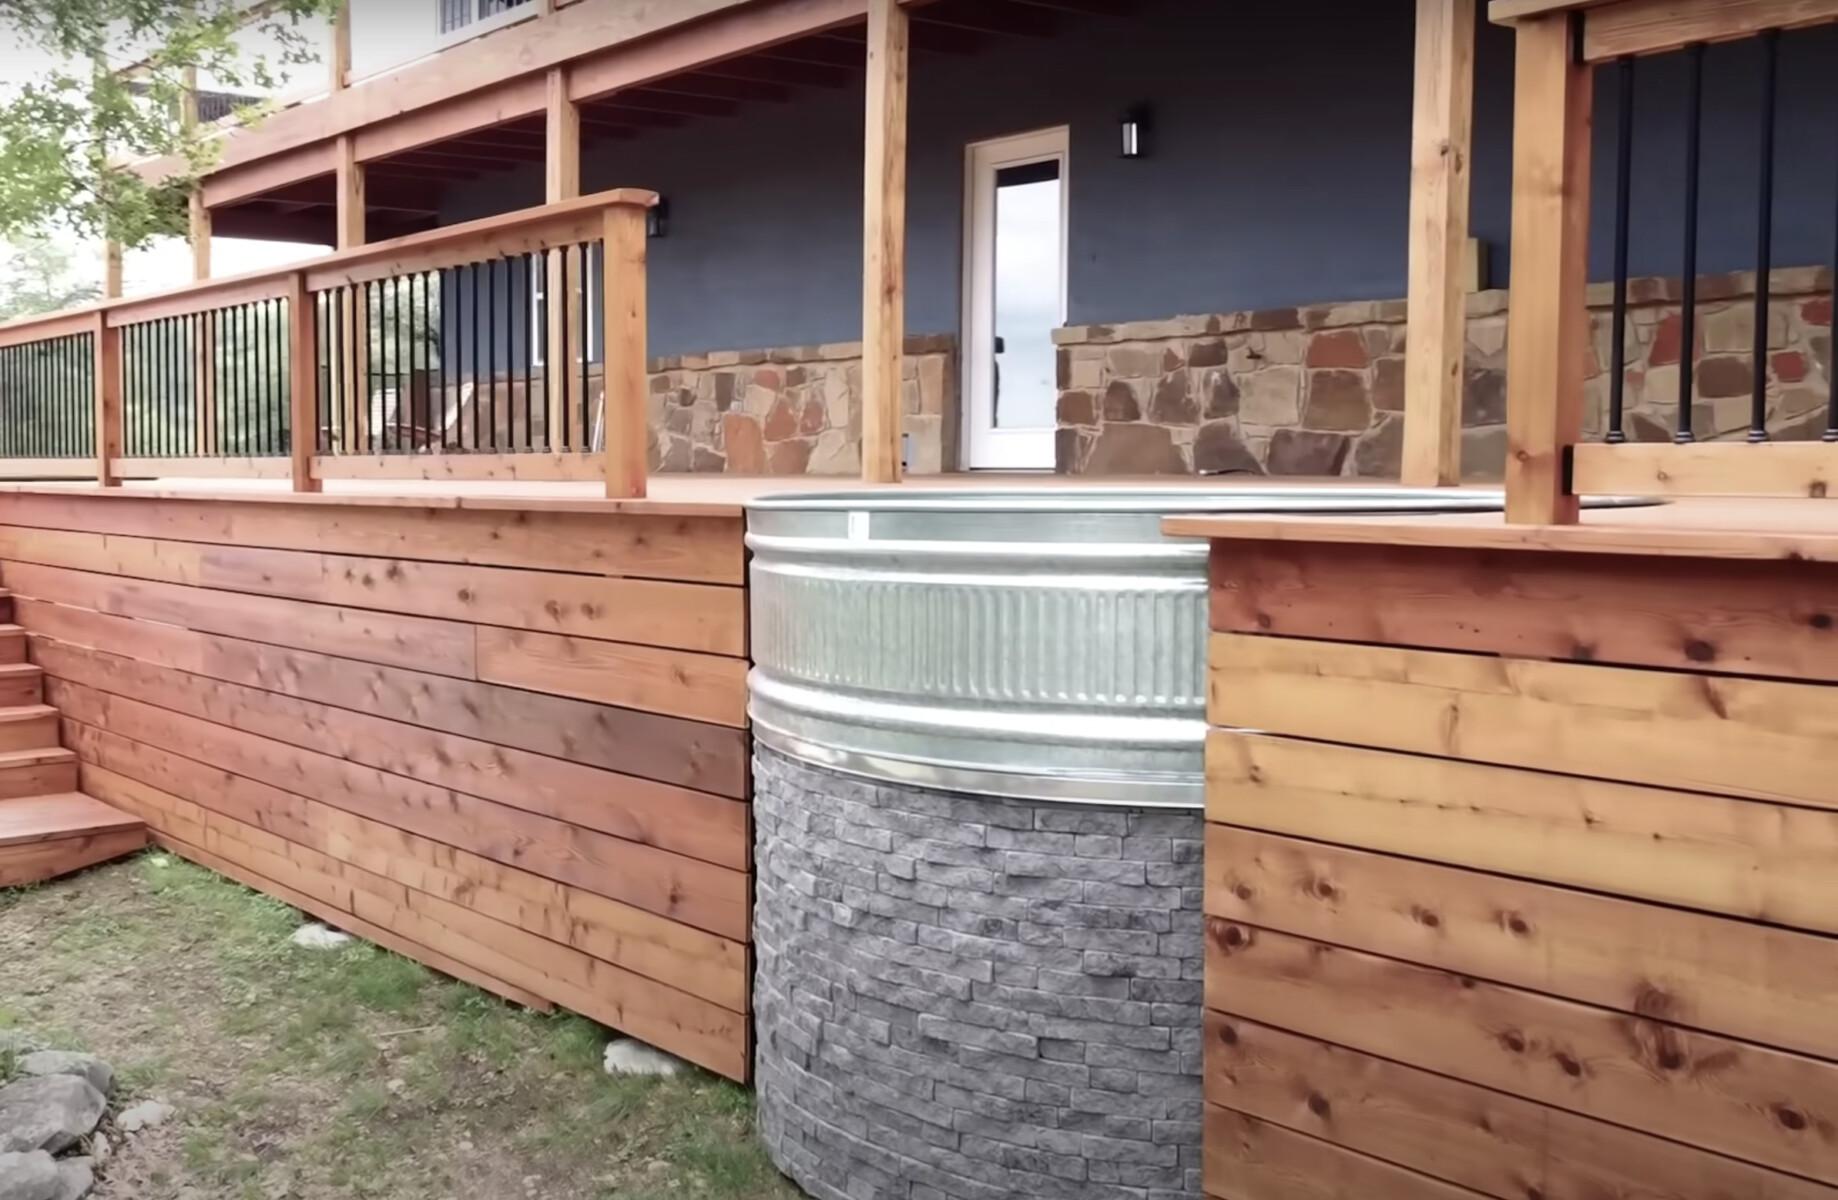
A testament to April’s ingenious design strategy is her decision to slightly protrude the pool from the deck. The result? An interesting contrast against the Real Cedar deck, adding depth and character to the outdoor space. This design choice, though requiring additional work, is worthwhile for the captivating visual impact it creates.
Building the Pool Platform
For this design, the pool will sit on an elevated platform, essentially a mini-deck. This will hold a significant amount of weight once the pool is filled with water. Hence, it’s critical to accurately calculate the load to ensure it’s built robustly.
Here are the main steps:
- Posts are put into the ground.
- Beams made from 2×12 are installed to span the distances of the posts.
- Joists are attached at a perpendicular angle to the beams.
- Deck boards are finally arranged perpendicular to the joists.
Creating Visual Interest
For this project, April opted for a beautiful knotty grade of Real Cedar, which really adds a lot of warmth and texture to her outdoor living space. You can mix and match it with clear grades of Real Cedar or do like April, and contrast its natural appeal with a totally different material. In the video, she guides viewers on crafting a stone facade around the pool with the following steps:
- Install floating studs just above the ground.
- Attach a sheet of plywood to the studs to form a solid backer.
- Staple house wrap onto the plywood to protect the wood from potential water damage.
- Install a rain screen on top to direct any seeping water downwards.
Installing a Dedicated Water Line
Finally, April demonstrates how to run a dedicated water line, a useful feature when refilling the pool. Flexible plastic piping runs from the nearest water supply under the deck framing to the pool area. In addition, an aqua hydrant is installed for both aesthetic and practical reasons, providing a more attractive alternative to standard hose bibs.
Adding the Finishing Touches
In April’s next video, she offers insightful tips and tricks on how to stain your dream deck. It’s good to know that Real Cedar is pitch and resin-free so it accepts and holds a wide range of finishes. So you can achieve almost any desired look to suit your outdoor living style. Whether you’re an experienced DIYer or a novice, April’s step-by-step approach offers invaluable insights that can help turn your dream deck into a reality. Don’t miss it!