April Wilkerson’s Guide to Creating the Ultimate Outdoor Oasis Using Real Cedar
Building your dream deck requires careful planning, informed material selection, and meticulous execution. Home improvement expert April Wilkerson understands this process inside out. In this video series, she breaks down each phase of deck construction – and all with an emphasis on doing it right. Having covered how to install decking and build outdoor stairs, this video zeros in on how to install three different types of railings: Traditional, stairs and removable!
When it came to choosing the right building material for her dream deck, Real Cedar was a no-brainer for April. As a pro, she’s aware of the unmatched quality and durability Real Cedar brings. Plus, it’s simply beautiful. As she puts it, “Man, do I love the way that Western Red Cedar looks. On top of looking stunning, it also has all of those wonderful natural qualities such as being naturally rot-resistant, insect-resistant, and fungus-resistant. It truly has become my go-to material choice for outdoor projects.”
This series offers a rare opportunity to learn deck-building fundamentals as well as some new and creative pro tips from one of the best in the building biz. Whether you’re an experienced DIYer or a novice looking to take on a new project, April’s step-by-step approach offers invaluable insights that can help turn your dream deck into a reality.
How to Install Traditional Railing
A traditional railing system is straightforward and consists of one post every 6 to 7 feet. These sections are connected by 2×4 rails, one at the bottom and top. The balusters, the vertical components, connect these two rails.
Setting up posts is the first step. If you’re starting from scratch, as April did, plan for these posts during the framing step and add in blocking to create a sleeve on the deck to slip the post into the framing.
Before fastening the cut and measured rails, April recommends marking off the baluster locations. As per building codes, the gap between balusters shouldn’t exceed 4 inches. If you’re using wood balusters, you’ll need to cut each board to length, possibly miter, and secure them in place with a nailer.
For this project, April opted for black clip-on balusters to contrast the natural beauty of the Real Cedar. This dynamic blend of cedar and black balusters not only highlights the versatile character of Real Cedar but also demonstrates how effortlessly it harmonizes with diverse materials, creating a stunning and unique outdoor aesthetic.
Furthermore, Real Cedar is pitch and resin free, which means it accepts and holds a wide range of stains. So you can create almost any desired look with cedar decking.
How to Install Railing on Stairs
The trick to achieving a perfect diagonal railing lies in accurate and consistent measurements. Start by setting the height for the bottom rails. April suggests using a chalk line to mark where the bottom rail will go on each post.
To determine the correct angles for the bottom and top railings, April traces the angles needed while holding the railing against the chalk line on the set posts. To avoid any potential mishaps, it’s recommended label your pieces accurately with a pencil – i.e. “Bottom 1”. This will ensure you don’t mix them up.
As with traditional railing, you should mark the baluster locations on the bottom and top rails, pre drill the holes, and secure them. The diagonal angle might make pre-drilling a bit tricky, but starting straight down and then tilting the drill should do the trick.
Pro Tip: Use stainless steel fasteners when working with Real Cedar to avoid any black marks on the wood once it gets wet.
How to Install Removable Railing
For removable railing, preparation during the framing process is key. April made provisions for receiving sleeves for metal posts by cutting her metal joints to length and drilling holes big enough for the screws to pass through. These metal posts were then placed flush with the deck board. For support, April used Western Red Cedar Posts, which she customized with channels to fit the metal tubing.
Note: Removable railings are not up to code. So if you live in an area with city jurisdiction, know this will not pass code.
Finishing Touches
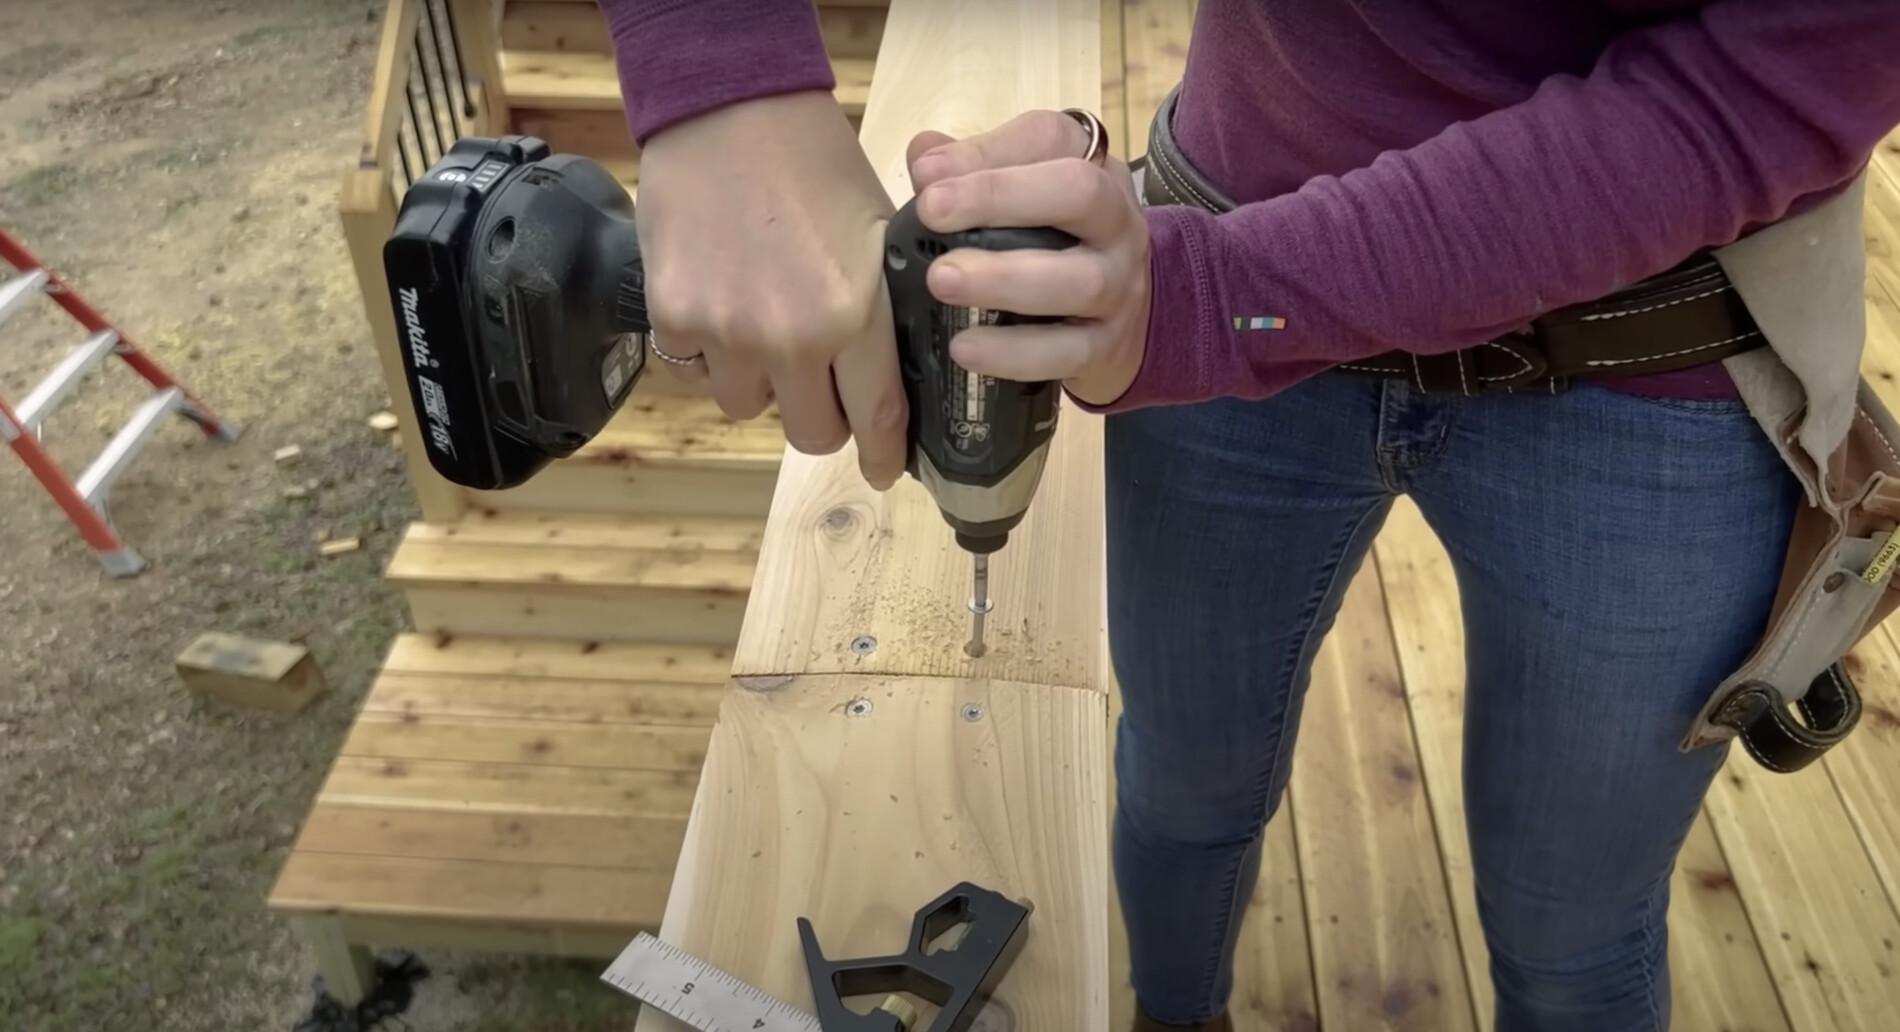
The final step of your railing project is the addition of top caps. Using Real Cedar, run the boards through a table saw to achieve a bevel and sand after installation. Predrill from the top to secure each cap with two screws at each connection point. This is where the stability and ease of working with Real Cedar truly shine. It lays straight, making it a dream to install, and woodworking tools love it.
Another reason why Real Cedar decking is the ideal material for a project like this is it’s sustainable and environmentally friendly. In fact, woods such as Real Cedar, actually sequester carbon rather than emitting it, unlike many composite materials. So it’s a choice you can feel good about.
Up next, April Wilkerson shares her best practices for building an above ground swimming pool. You won’t want to miss her expert tips and tricks in the next part of our series! Stay tuned.