
How to Build the Perfect Deck – Tiered Walkway
April Wilkerson’s Guide to Creating the Ultimate Outdoor Oasis Using Real Cedar
Building your dream deck requires careful planning, informed material selection, and meticulous execution. Home improvement expert April Wilkerson understands this process inside out. In this video series, she breaks down each phase of deck construction – and all with an emphasis on doing it right. The particular video zeros in on how to build an easy tiered walkway without having to dig holes or pour concrete.
Central to April’s deck-building philosophy is her material of choice: Real Cedar decking. This isn’t just because of its stunning aesthetic appeal. As the Texan woodworker so enthusiastically puts it, “Man, do I love the way that Western Red Cedar looks. On top of looking stunning, it also has all of those wonderful natural qualities such as being naturally rot-resistant, insect-resistant, and fungus-resistant. It truly has become my go-to material choice for outdoor projects.”
This series offers a rare opportunity to learn deck-building fundamentals as well as some new and creative pro tips from one of the best in the building biz. Whether you’re an experienced DIYer or a novice looking to take on a new project, April’s step-by-step approach offers invaluable insights that can help turn your dream deck into a reality
Steps for DIY Wood Walkway with Stairs – Fast, Simple, Inexpensive
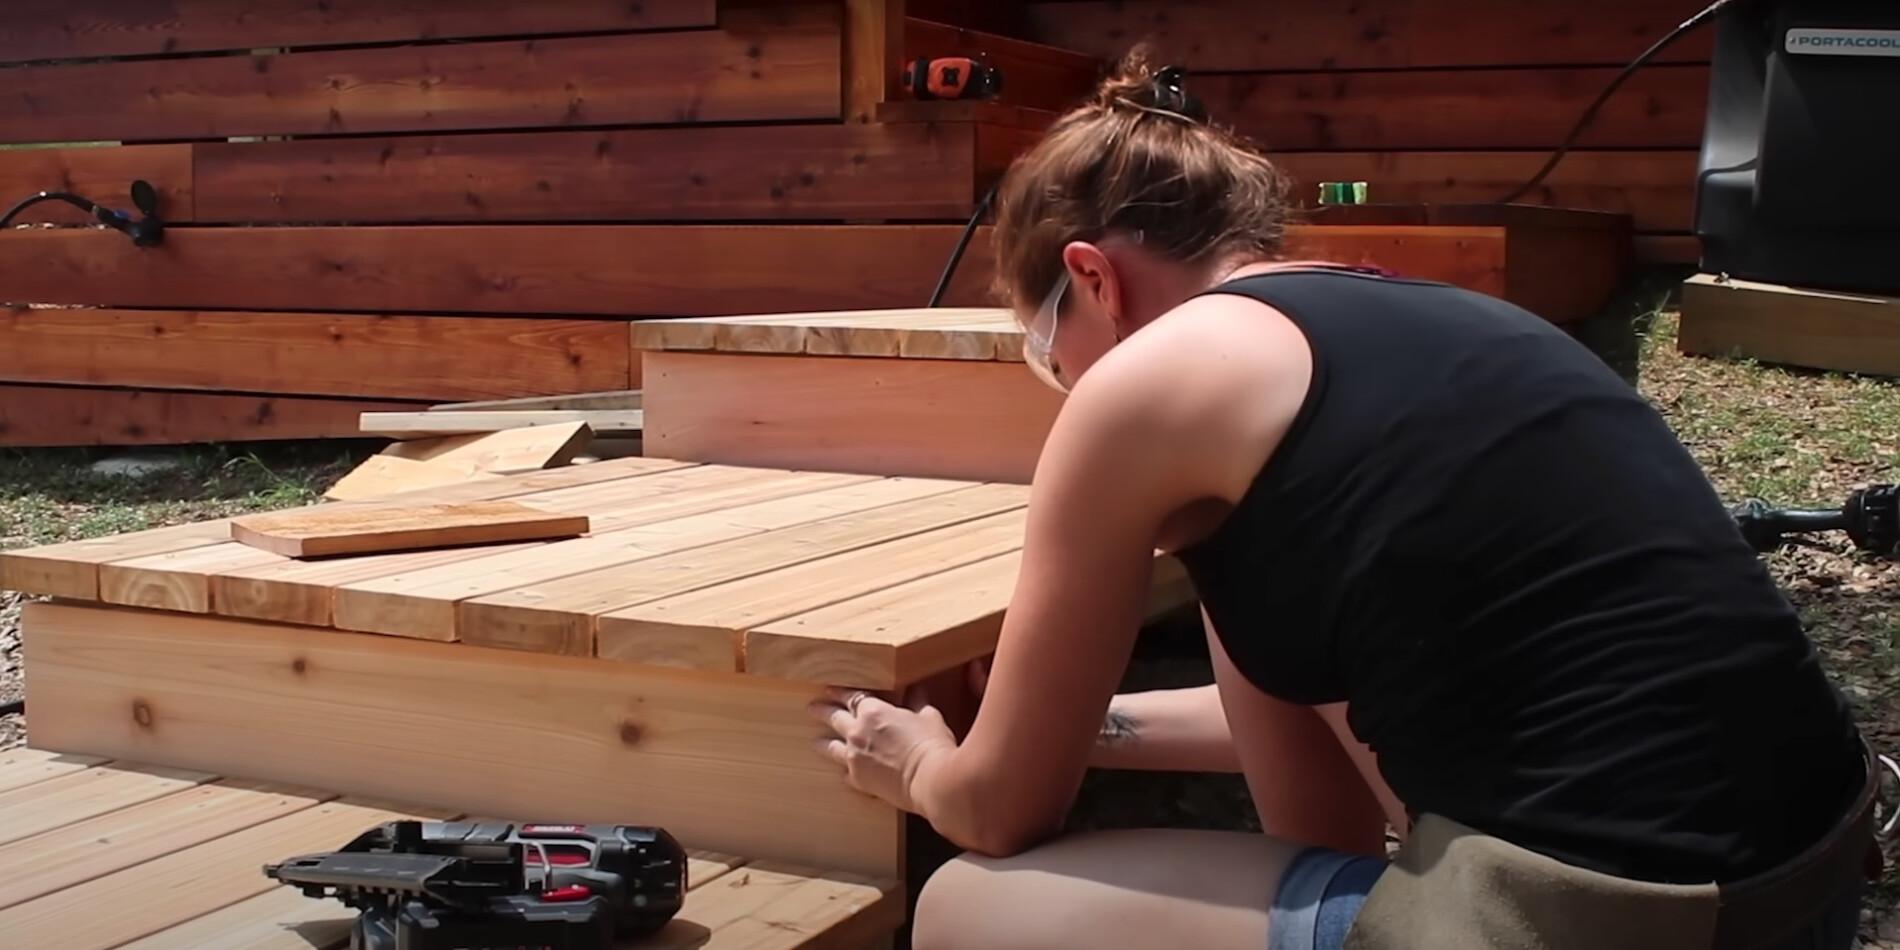
Constructing the Perfect Platforms
- Start with a simple 2×4 frame for the platforms. Attach runners or ‘ears’ on either side to facilitate future connections. April suggests building all them beforehand as opposed to one at a time to streamline your build.
- After building the platforms, set your first one in the desired location. Clear the area where the platform’s feet will land, and create a solid base with compacted gravel.
- Secure the platform in place with the help of an assistant, ensuring that it is properly leveled. Place prefabricated deck blocks on tamped down gravel and adjust wood feet as necessary.
Efficient Deck Board Installation
- Install the deck boards in your desired orientation, securing them in place with stainless steel screws to prevent staining.
- Use a chalk line to create a straight line, then cut each board to length. Alternatively, you could batch cut your boards using a mitre saw.
Constructing the Risers
- Once your boards are installed, construct the risers. Attach these using a 15-gauge nailer. Remember to leave a little extra overhang on the boards to cover the end grain of the sides.
Covering the Sides
- To cover the sides, scribe them to match the slope of the ground – making sure each tapered board is roughly two inches off the ground.
- Install blocking for nail support and finish with tapered cuts made using a circular saw.
Sealing the Deal with Finishing Touches
To match her beautiful Real Cedar deck, April opted to stain her walkway with primer and a semi-transparent deck stain. The product was absorbed smoothly and evenly, making the wood’s natural lustre pop even more. That’s because Real Cedar is pitch and resin-free, which means it accepts and holds a wide range of finishes beautifully. And if you prefer low maintenance, you can let your Real Cedar weather naturally, eventually achieving a beautiful silvery grey patina.
Just as compelling, Real Cedar is a green building material. As a sustainable, renewable resource, it’s a choice you can feel good about. Plus it’s very DIY-friendly, offering ease of use for every level of skill set.
Watch more tutorials from April as she continues to share her top tips on crafting beautiful, durable structures using Real Cedar in her deck construction series. Browse videos here.