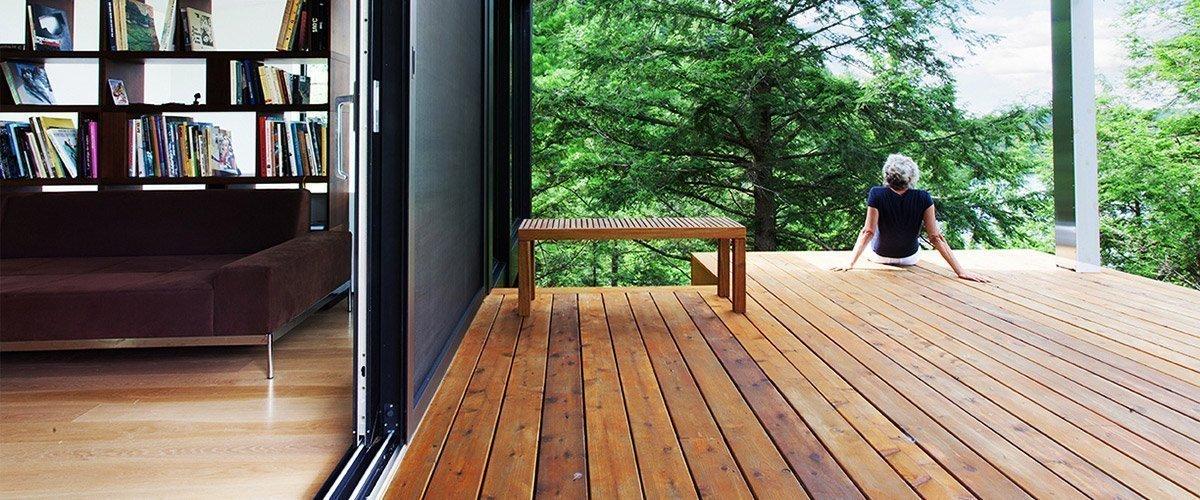
Best Practices for Applying Deck Stain
Once you’ve decided on the right type of finish for your project, the next step is application, and you really want to get it right the first time. If the first application is done incorrectly, it could lead to issues down the road – i.e. blistering, peeling, etc. That’s why it’s important to make sure the deck surface is clean and dry before application.
Important Note: Never power-wash a deck because it damages the wood fibres.
As soon as the deck is cleaned and fully dry, begin stain application immediately. For new decking, finishes can be factory-applied in many markets. But if you are doing it yourself on site, apply the stain to all 6 sides of each board prior to construction. Here’s a breakdown of how to apply various types of stains:
Transparent Stains & Water-Repellent Preservatives
- Water-repellents can be applied by sprayer, brush, pad or roller, followed by a brushing in the direction of the wood’s grain.
- Repeated brush treatment of Western Red Cedar until the wood no longer absorbs any more products (known as the point of refusal) will enhance the durability of the finish.
- The more water-repellent finish absorbed by the wood, the longer the service life.
- Liberal amounts of water-repellent should be applied to the end grain of deck boards.
- Other areas subject to moisture penetration such as nail or screw holes and cracks also need to be treated.
- Quality products should contain UV filters.
- Solvent borne, oil-based formulas that contain mildicides are preferred.
Semi-Transparent Stains
- Apply stain liberally by spray, brush, pad or roller, followed by a brushing in the direction of the wood’s grain.
- Apply finishes to the full length of only two or three boards at a time to avoid lap marks.
- Working in the shade can help reduce lapping because the drying rate of the stain is slower.
- Do not apply more stain than the cedar will absorb because the excess stain will appear as a shiny area on the surface.
- Apply the stain liberally to the end grain of deck boards; nail holes and any cracks in the boards.
- Quality products should contain mildicides.
To complete the deck of your dreams, you many want to consider other projects to enhance your outdoor living space. A traditional pergola, for example is a perfect way to define a seating space on a deck, or maybe a built-in cooking area and/or modern dining table – ideal for entertaining friends and family on those warm summer evenings. For inspiration, check out our DIY Center for vast selection of how-to videos and free downloadable plans.


